Showing posts with label DIY. Show all posts

Monday, December 5, 2011

Elf donuts

Are you kidding me?

These elf-sized donuts made me laugh.  You won't believe how easy they are, either!  

Happy Monday!  May your day be Merry + Bright!

Spotted on Ohdeedoh

Friday, September 16, 2011

happy weekend...


happy friday kittens!

some links to love...

spaces + places.

these clothes made my jaw drop.

Design*Sponge at Home is in bookstores now!  I picked up a copy last week and it's so good (and pretty).

What pretty crayons.

Metallic lampshade linings!

I'm in love with Erin's house in Austin, Texas.  Part 1 and Part 2 of her house tour.

Those nails!

Dylan has his very first soccer practice tonight so we are off to grab a bite before he hits the field!  Hope you all have a fun + happy weekend.  See you back here next week!  I'm almost finished editing our photos from San Francisco, can't wait to share them with you!


Until then, xoxo,
steph


Image of Four Kings via 20x200.

Tuesday, September 13, 2011

Affordable Art


I've come to really appreciate the texture art adds to our life.  Living with art has provided our family so many memorable moments.  The other night while we we eating dinner, Dylan spent nearly ten minutes talking about the painting on the wall and how he thought it needed more black (his favorite color).  Sometimes when I walk into a room the light is hitting a painting just so that suddenly I see it in a completely new way.  Purchasing art isn't at the top of every budget list, so when I come across beautiful and affordable art, I'm always encouraged.  Thanks to sites like 20x200, Art.com and Etsy, great affordable art is more accessible than ever.

The lyrical poster above is featured in the new issue of Lonny and is less than $120.  I think this duo would look beautiful in any room in the house.


psst...We use these frames for most of the artwork in our house, but I love Jordan's tutorial, too!

Thursday, June 9, 2011

99 on June 9


Today is June 9 and the heat index is 99.

There are many reasons this is depressing, but I'll spare you and just list two:

1. 99 degrees with 45% humidity is, in one word, nasty 
2. This is actually cooler than it has been here lately.

When it is this hot outside I make every attempt to stay inside unless there is a pool or lake within arm's distance.  It's really better for everyone's sake that I do this since I can get pretty bitchy grumpy if I'm forced to withstand long periods (over 10 minutes) in the Texas heat.

But, I'm working hard on a handful of things in my air-conditioned confines and one of them is a little blog face-lift, yay!  I really want to add this Lindsey Adelman Chandelier DIY to my indoor activity list, too.  I think it's pretty amazing.

Stay cool, peeps.

xo,
steph

{image source: lindsey adelman studio}

p.s. A few people asked about me about following my blog.  I'm embarrassed to say the followers section has always made me self-conscious.  But, today I caved and added the little gadget to my sidebar.  So, follow me...I promise you, it will make my day!  

Monday, December 6, 2010

sweet success!


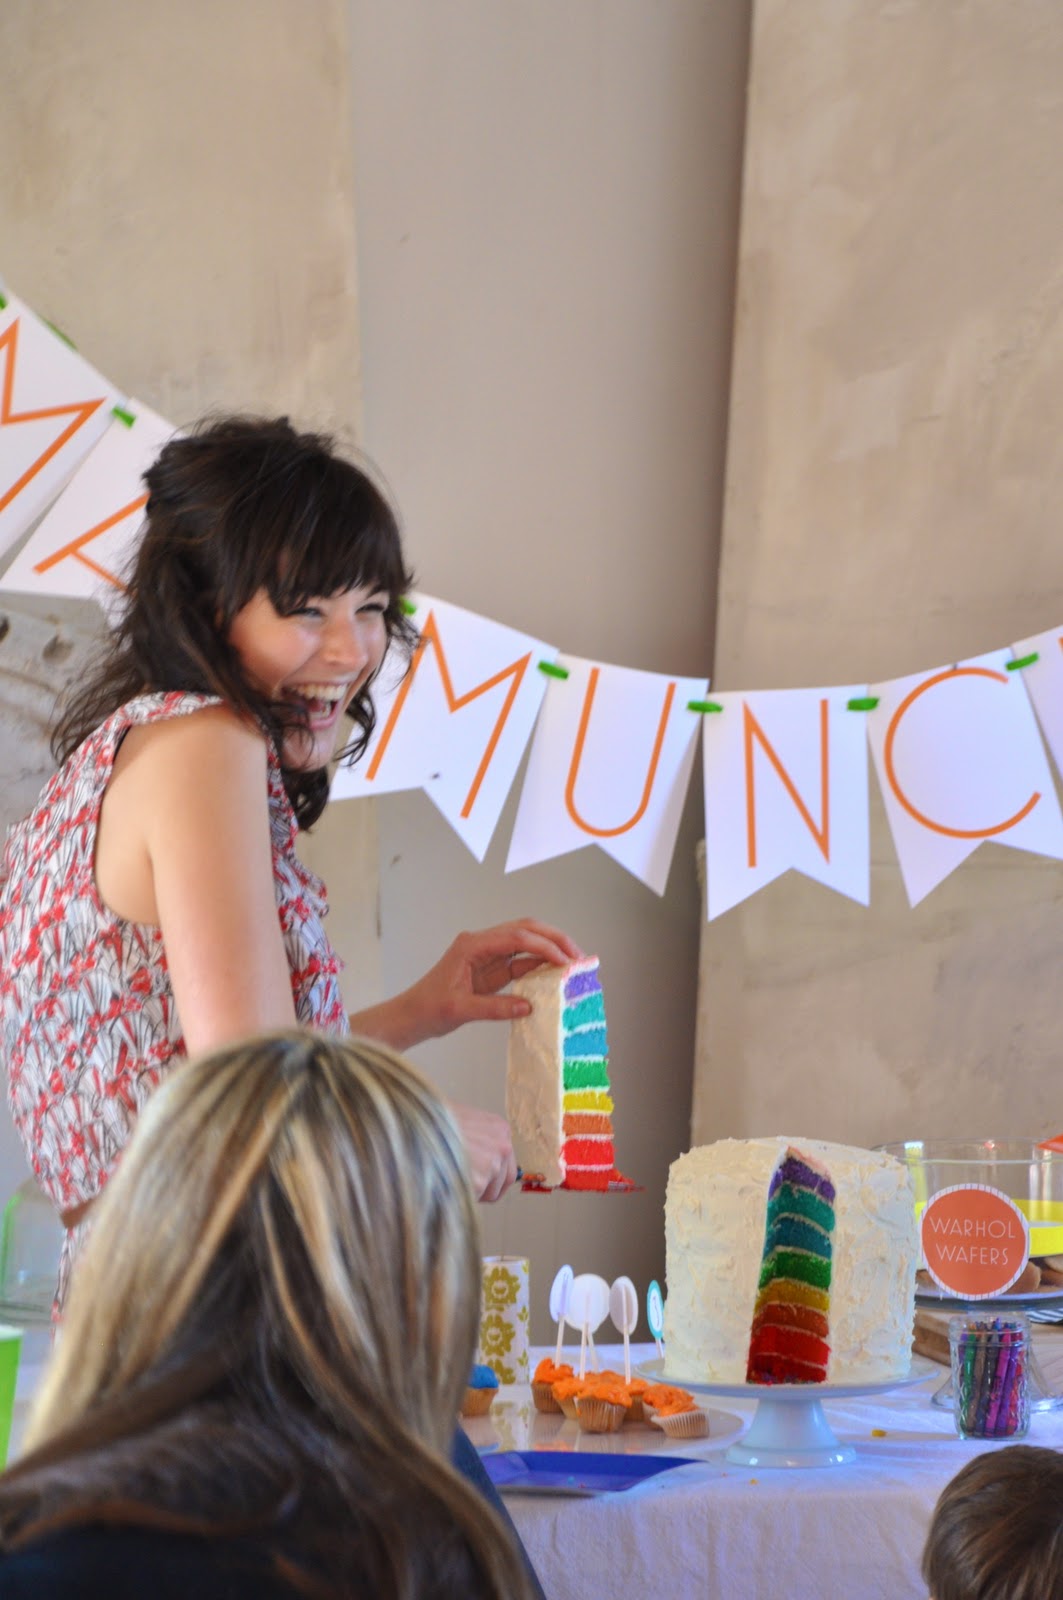
Well friends, the cake was a success!  It was easy to make, a complete hit and totally yummy.  Here are a few pictures of the reveal.  Can you tell how excited I am?  I had a moment of panic when I cut into the cake and thought, "What if it looks terrible!?!"  The last photo is of Dylan and his best bud, Will, enjoying a little huge piece of rainbow heaven.  

I didn't hire a photographer for the party, so I'm going through the photos my sister took (thanks, kate) and some a friend gave me today.  Hopefully, I'll have some more to share! 

I hope you all had a wonderful weekend.  We spent most of Sunday recuperating from the party-mania.  We slept in, ate waffles, played outside and went out to eat.  Somehow, I'm still tired and craving more family laziness today.

xo,
steph

p.s. after a long run of potty-training regression, dylan wore his big boy undies all day yesterday (even when we went out)!  he went to school in them today, too.  i'm keeping my fingers crossed and hoping we've reached the beginning of a big milestone and that the second time's a charm!

Thursday, December 2, 2010

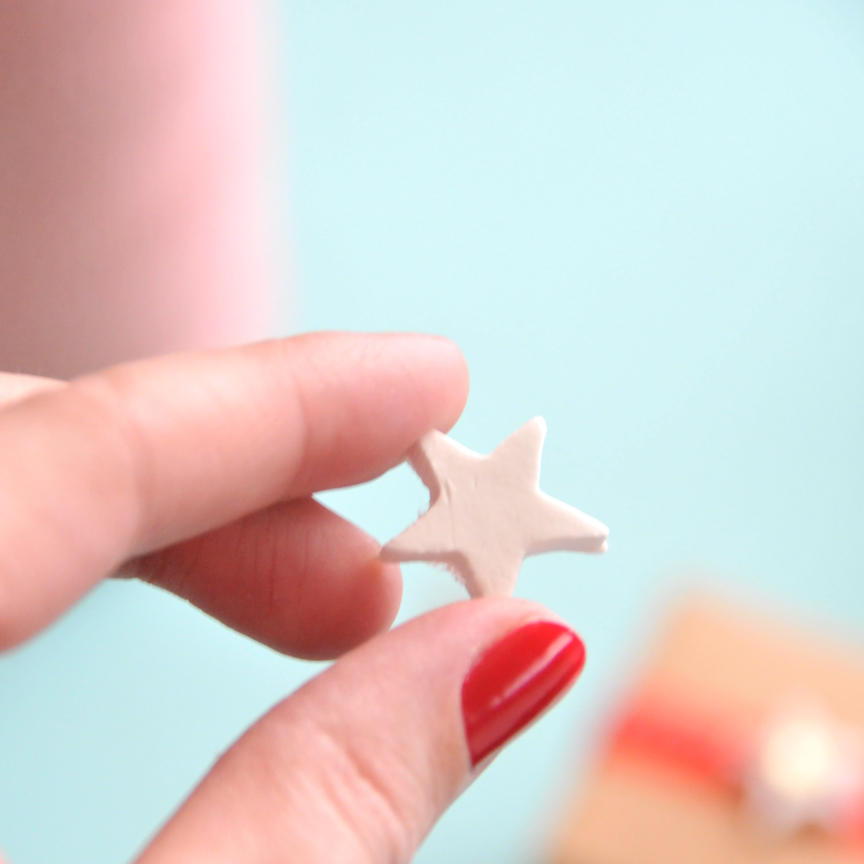
DIY Scandinavian Star Garland

Hi lovelies!  Once again I am on a tight schedule, but I thought I'd post this adorable DIY from Creature Comfort.  What a great gift idea!  Enjoy!


p.s. I'm making myself push the Holiday Gift Guide until next week!  Check back then for some great holiday finds!  p.s. Cup of Jo and Design Sponge have 2010 Gift Guides up now!


DIY Scandinavian Star Garland
This project was inspired by the sweet simplicity of Scandinavian holiday decor and I really love how it turned out. You can hang these vertically, drape them horizontally, or even use them to adorn gifts! 


Supplies needed:
  • LaDoll Premier Light Weight Stone Clay - I purchased my clay from a local Michael's craft store, but it is also available online HEREHERE, and HERE.
  • Rolling pin (nonstick) - You can also use your hands to flatten your clay for a less uniform, more handmade look.
  • Mini star cookie cutter - I used the insert of a LINZER COOKIE CUTTER for my garland, but you can use any size cookie cutter you'd like. The clay in this project dries very light weight and will lend itself well to a wide variety of sizes.
  • Sequins (optional) - available at craft stores.
  • Hot glue gun & glue sticks - I used the hot variety, but I recommend the low heat varieties for safety reasons.
  • Baker's twine / twine - Baker's twine can be found just about everywhere online these days (a quick google search should give you plenty of options). Alternately you can use embroidery thread, ribbon, twine, or even dental floss.
  • Covered work surface - I used the waxed side of butcher paper to roll out my clay and work on.

Step 1: Roll out a small amount of your clay on your covered work surface until it is smooth and the desired thickness is achieved (there is no right or wrong thickness for this project).


Step 2: Using your cookie cutter begin punching out your shapes. Set them aside and allow to dry. This should take anywhere from 8-24 hours depending upon the thickness of your cut shapes.


Step 3: Once your stars are dry, plug your hot glue gun in and let it heat up. Once heated, apply a tiny dot of glue to the back of a star and place your twine through the middle of it.


Step 4: While the glue is still hot carefully set a sequin on top of the glue/twine and press down lightly to adhere. Repeat this process spacing your stars as far apart from one another as you'd like. Be sure to leave a decent length of twine at both ends for hanging. Your garland will tangle easily so I recommend wrapping it gently around a piece of cardboard (cut a notch at the top and bottom of the cardboard for your garland ends to lock onto).


Your garland (or modified versions of this project) can be used to embellish special holiday gifts too (you can even write or paint on this clay once it has dried)! Experiment with other cookie cutter shapes to make unique gift tags and embellishments...or even ornaments for your tree!


xo,
steph


Tuesday, November 30, 2010

Party-mania


Sorry for being MIA ever since Thanksgiving.  After waking up from my deep food coma, I've been running around like a mad woman preparing for Dylan's birthday party this weekend.  AH!  I'm really excited.  Last year we just had a 'little' family + close friends get together, but this year I actually got my act together and invited Dylan's entire class.  I can't wait to see how much fun he will have with his friends!

Plus, what could be more fun than an art party?  Here is a shot of the invitation I made for the party.  I had meant to order them off of minted., but ran out of time so I just did it myself.  I can't wait to share the rest of the party with you!

So, hang with me and forgive my sporadic posts.  I'm hoping to get a little holiday gift guide up this week, but don't hold it against me if it takes me until next week.  In the meantime, there are TONS of fun holiday ideas out there right now.  Check out my favorites!

Design Mom's great finds for the men in your life.  (Plus tons more!)

DIY pom-pom garland.  I just love pom-poms, don't you?

Pintrest gift guides!  I just joined pintrest and I'm pretty much obsessed.

Oh Joy! gift guides just started.  Check out the first two posts here and here.

The sweetest Advent Calendar ideas.

A yummy 10-minute meal for those crazy holiday evenings after those crazy holiday days.

There is lots out there to share.  I'll be sure to post some more link love when I can!  For now, I hope this made up for my absence.

xoxo!
steph

Monday, November 15, 2010

Pretty Flags DIY

{all images courtesy of Project Wedding, Oh Happy Day!}

I saw this Flag DIY by Jordan Ferney of Oh Happy Day! a while ago, but was recently thinking of making these for Dylan's birthday party next month.  Of course, these flags are great because they would look good for any event really.  You don't need much of an excuse to make them! 

Flag Sculpture DIY

Materials Needed: 
Dowels (strong enough to place them in the grass), Fabric (we chose varying hues of yellow) 
Sewing Machine, Scissors, Elmers Glue, String, Tape, Large Bowl

1. Cut out the shapes of flags that you want. The shorter flags work better than the longer lengths. 
2. Fold a flap of fabric over on one side and sew a space big enough for the dowel to fit in.


3. Taking the large bowl, add about 2 cups of Elmer's Glue. 
Then mix in 1/3 cup water and stir until it is completely mixed in.


Step 4. Dip Flag into the glue mixture (with dowel already inserted) until it is completely covered. 
Remove some of the excess glue with your hands but make sure 
it still has a generous amount of glue covering the surface.


5: Hang the flags to dry by taping the dowels to the string. 
Make sure the string is level and is in a place that isn't windy (somewhere like a garage is best).
Line the area below the dripping flags with newspaper or scrap materials to prevent mess.


Flags should dry and harden within 12 hours and you'll have yourself some cute flags to decorate your event.

♥ ♥ 

Jordan always comes up with the best DIY projects!  This sweet flag project was posted on Project Wedding, which offers an endless amount of DIY's that can be used for any kind of party, plus it has beautiful wedding things-something I never tire of seeing.

Have a happy Monday.  I don't know about you, but I'm kind of fighting the Monday blues.  I want to be at home!

xo,
steph

p.s. Don't you covet that dress the model is wearing?  I seriously love it.

Wednesday, November 10, 2010

Ruffle Necklace DIY


Lately, I've been brain-storming different series to incorporate into Meyer on the Wire.  I always love stumbling across another blog's series and being able to read multiple installments of something I find interesting.  I have several ideas in my head, but still need to sort through the specifics of them.  One thing I do think everyone loves though is a good DIY project.

So, here it is: the very first DIY project on Meyer on the Wire.  Lucky for me and you, the holidays are right around the corner so these DIY projects can be used as gift giving inspiration!  And, yes, you can give yourself a gift.

Ez, of Creature Comforts, has one of the most amazing DIY + Project libraries I've found.  I was smitten with this sweet, quirky necklace that jewelry designer Rebekah put together.  Here are is the how-to. You can find even more inspiration at Creature Comforts.

p.s. Wouldn't this be so adorable with a tulle fabric?

 Ruffle Necklace DIY


Supplies needed:
  • a strip of three and a half inch wide fabric
  • sewing machine
  • 20 gauge wire
  • chain jump rings and clasp for the closure
  • any buttons, ribbon, brooches to embellish your piece
  • needle and thread
Directions:


1. First you need to cut a strip of fabric approx. 3" wide, the length will vary depending on the weight and how "full" you want your ruffle to be. I usually just trim the strip down as I go.
2. Iron your strip in half with the right side facing out.
3. next your are going to sew a 1/4" straight stitch along the folded end of your fabric.
4. Make sure you sew along the folded side, you are creating a sleeve for the wire.

5. Now you need to get our your wire and cut a piece approx. 12" in length. You will need to make a wire wrapped loop with one end of the wire. If you do not know how to make a wire wrapped loop check out my friend Lindsay's amazing tutorial HERE on the Fusion Beads website.
6. after you have wire wrapped one end of your wire, begin feeding the other end into the sleeve of the strip of fabric you have created.

7. continue until you have reached the desired rufflyness trimming off any excess fabric.
8. wire wrap the second end of the wire.
9. your pendant is now complete! At this point go ahead and add any chain, beads or ribbon that you want for the closure.
10. On my pendant I added a 3" piece of red velvet ribbon and a cameo button to make it festive.

11. fold the ribbon in half and with your needle and thread sew it onto your ruffle pendant.
12. when you are finished sewing on the ribbon, add your button...and voila!

♥ ♥ 

I hope you like this DIY! Be sure to check out Creature Comforts for more DIY goodness and other wonderful, beautiful things.  And, you should also visit Rebekah's blog, she just had the most adorable little girl.

xo,
steph


Related Posts Plugin for WordPress, Blogger...